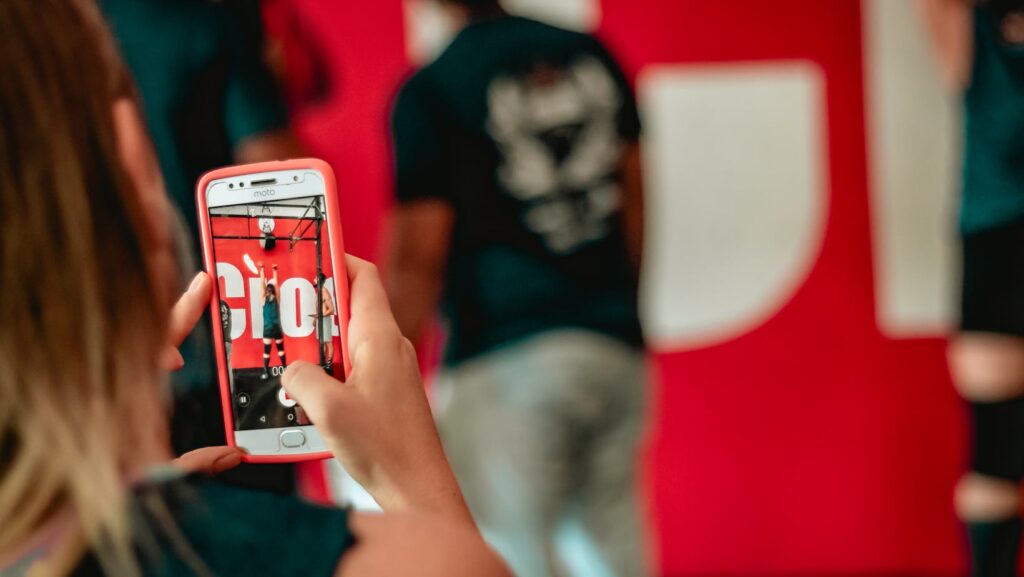
Recording videos on your iPhone can be a powerful tool for capturing moments or creating content, but getting the perfect shot of yourself can sometimes be tricky. As someone who’s spent years creating video content, I’ve picked up some valuable tips along the way that can help you elevate your self-recorded videos to the next level.
Tips For Video Recording Yourself On iPhone
When it comes to recording high-quality videos on your iPhone, understanding the different iPhone models and their camera capabilities is crucial. iPhones come in various models, each offering unique features and camera specifications. For instance, newer models typically have advanced camera systems that can enhance your video recording experience.
Before selecting an iPhone for video recording, it’s essential to evaluate your specific needs for video quality. Consider the type of videos you plan to create and the level of quality required for your content. If you aim to produce professional-looking videos for social media or online platforms, you may need a model with advanced video recording capabilities and improved performance in low-light conditions.
By aligning your video recording needs with the camera capabilities of different iPhone models, you can choose the right device that meets your requirements and helps you capture stunning videos effortlessly.
Preparing for Your Video Recording

When preparing for video recording on my iPhone, ensuring a quiet and well-lit environment is crucial for optimal results. I always choose a location with minimal background noise to maintain clear audio in my recordings. Additionally, good lighting is essential to produce high-quality videos. I prefer natural light or well-placed artificial lighting to brighten the space and enhance the overall look of the footage.
To achieve steady footage while recording myself on my iPhone, I make it a point to use tripods and stabilizers. These tools help me maintain stability and eliminate shaky shots, resulting in professional-looking videos. By securing my iPhone on a tripod or stabilizer, I can focus on delivering content confidently without worrying about unnecessary movements affecting the quality of the recording, and I can easily include a QR code in the frame for viewers to scan.
Camera Settings and Composition Techniques

When recording videos on an iPhone, it’s crucial to adjust the exposure and focus settings to ensure a well-balanced and sharp image. I always make sure to tap on the screen where my subject is to set the focus correctly. This simple step can make a significant difference in the clarity of your video. Additionally, adjusting the exposure can help avoid overexposed or underexposed footage. I recommend experimenting with these settings before you start recording to find the perfect balance for your environment.
To enhance the visual appeal of your self-recorded videos on the iPhone, consider applying the rule of thirds. By dividing your frame into a 3×3 grid and placing your subject along the gridlines or at the intersection points, you can create a more visually interesting composition. This technique helps draw the viewer’s eye to the most important parts of the frame and adds balance and depth to your shots.
Utilizing Built-In Features and Apps
When recording videos on my iPhone, maximizing the available camera modes and options is essential for achieving high-quality results. I often utilize features such as Time-Lapse, Slo-Mo, and Panorama to add variety and creativity to my recordings. These modes can enhance the visual appeal of my videos and make them more engaging for viewers. Experimenting with different settings allows me to discover unique ways to capture moments and tailor my recordings to suit the content I want to create.
After capturing footage on my iPhone, editing plays a crucial role in refining the final video. I rely on apps like iMovie to edit my recordings with ease. iMovie offers a user-friendly interface with a range of editing tools that allow me to trim clips, add transitions, incorporate music, and apply filters to enhance the overall look of my videos. Additionally, exploring other video editing apps from the App Store expands my editing capabilities, offering more advanced features for a polished end product.
