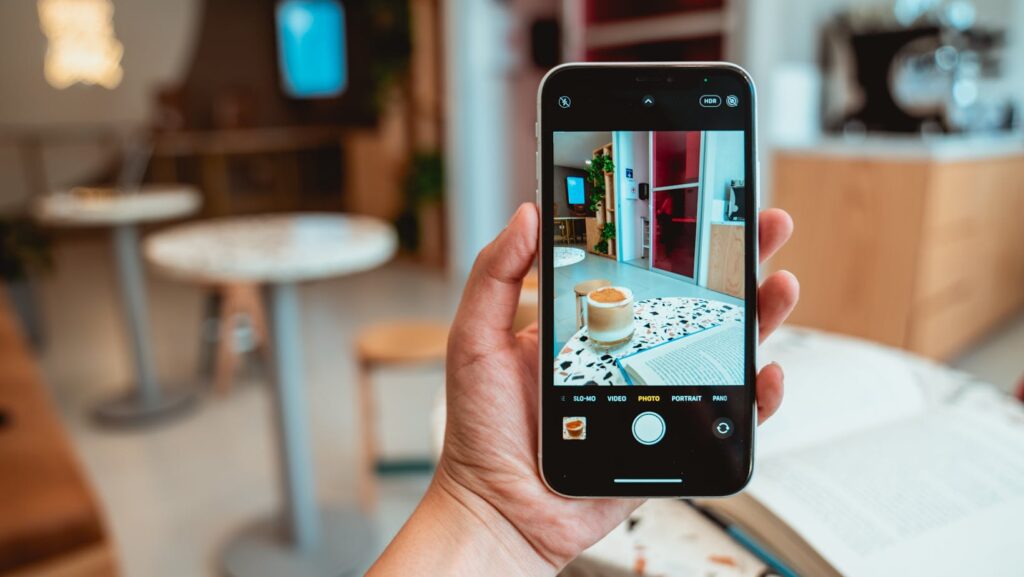
Are you looking to up your photography game with your iPhone? As a seasoned photographer, I’ve gathered some valuable tips to help you capture stunning shots with your iPhone camera. With the advancements in smartphone technology, your iPhone can be a powerful tool for creating professional-looking photos.
iPhone Camera Tips
In exploring iPhone camera capabilities, mastering the basics of focus and exposure is vital. Tap on the screen where you want to focus to ensure the camera captures the subject sharply. Adjust the exposure by sliding your finger up or down on the screen to control the brightness of the image. This simple technique can significantly enhance the quality of your photos.
Portrait Mode on the iPhone offers a fantastic way to create stunning photos with a beautifully blurred background. By utilizing this feature, you can achieve professional-looking portraits with a bokeh effect. Experiment with different lighting conditions to see how Portrait Mode can transform your images. Additionally, adjust the depth control to customize the level of background blur to suit your artistic vision.
Delve into the hidden features of your iPhone camera, such as Live Photos and Burst Mode, to add dynamism to your photography. Live Photos capture a few seconds of video before and after the shot, bringing your images to life. On the other hand, Burst Mode allows you to take a series of rapid shots by holding down the shutter button, ensuring you never miss a perfect moment.
Composition and Framing Techniques
The Rule of Thirds in iPhone Photography

When using an iPhone camera, one key technique to enhance your compositions is the Rule of Thirds. It involves dividing your frame into a 3×3 grid, aligning your subject along these lines or at their intersections to create a well-balanced and visually appealing shot. The Rule of Thirds can help me create more engaging and dynamic photos with my iPhone by guiding the placement of key elements within the frame.
Utilizing Negative Space for Impact
In iPhone photography, Negative Space plays a crucial role in adding impact and significance to your images. By including empty areas around your subject, I can draw attention to the main focal point, emphasizing its presence and creating a sense of minimalism and sophistication. Mastering the use of Negative Space is essential for me to elevate my iPhone photography and create compelling visual stories.
Lighting and Color Balance
Harnessing Natural Light for Better Photos

When capturing photos with your iPhone camera, proper lighting is essential for achieving high-quality results. Natural light provides a soft and flattering illumination that can enhance the details and colors in your photos. To make the most of natural light, position yourself or your subject facing the light source, whether it’s the sun outdoors or a window indoors. This technique helps prevent harsh shadows and creates a more even distribution of light across your scene, resulting in well-exposed and vibrant images.
Using HDR for High-Contrast Scenes
In situations where you encounter high-contrast scenes with bright highlights and deep shadows, the HDR (High Dynamic Range) feature on your iPhone camera can be a valuable tool. By enabling HDR mode, your camera captures multiple exposures of the same scene at different brightness levels and combines them to create a well-balanced photograph. This technology helps retain detail in both the highlights and shadows, ensuring that your images have a wider dynamic range and appear more true to life.
Adjusting White Balance for True-to-Life Colors
Maintaining accurate color balance in your photos is crucial for producing images that reflect the true colors of the scene. Your iPhone camera offers various white balance presets that allow you to adjust the color temperature to match different lighting conditions. By selecting the appropriate white balance setting such as Auto, Daylight, Cloudy, Tungsten, Fluorescent, or Custom, you can ensure that your photos have realistic and natural colors that represent the scene as accurately as possible. Experimenting with different white balance settings can help you achieve a more vibrant and color-accurate final image.
